Gouache Painting - Top Eleven TIps
I will preface this journal entry by saying that I am no expert on gouache and feel like I will forever be a student of this medium. I sometimes get asked if I run workshops or classes teaching painting techniques but unfortunately I just don’t have time for this and also don’t feel qualified; maybe ask me in another 10 years. That being said, I am always happy to share what I have learned and often post painting process pics on my Instagram feed. I remember experimenting with gouache as a high school art student and was later reintroduced to the medium at university when one of my lecturers taught us to render jewellery using gouache - yes these were the days before Procreate when all out work was done by hand. For the last 10 years or more, I have worked predominantly in gouache as I love the vibrancy of the colours and it suits my style of working relatively small on a desk. The following tips are just some of the questions I get asked and the observations I have made along the way. I would love to hear your tips in the comments.
1. Paint Quality and Brushes
I still remember one of my first rendering classes at uni where our lecturer introduced us to the materials we would need to purchase for the work we would be doing. He encouraged us to buy the best brand of brushes and paint that we could afford. In those days, all my dollars were spent on buying silver for jewellery making experiments but I diligently went off to the art shop and spent the rest of my money on Winsor and Newton gouache and brushes. To this day, I still mostly use Winsor and Newton and also love the Holbein brand as well. I find these paints to be consistent and I stick mainly to the Series 1 or 2 paints in the lower price range and occasionally add a different colour to my collection. You really only need very small amounts so don’t squeeze out too much paint - a little goes a long way. At the same time, if you have a larger area to cover, make sure you mix enough as it will be almost impossible to match that colour if you are mixing different paints together.
With regard to brushes, I don’t think you necessarily need to buy the most expensive, but if you want to paint fine lines, then you are going to need a brush with a good point on it and it is necessary to replace brushes as they wear out. My old brushes get recycled to paint mixing brushes so keep a separate pile for mixing and painting. I like to buy my brushes in store so I can check the tips - nothing worse than buying a brush and finding a bristle bent backwards in the protective plastic tube; I can never fix that one stray hair and it will forever annoy me. Art shops are usually happy to wet the brushes for you if you want to check that they have a good tip. Also it’s good to have a few different sizes depending on what size area you need to paint or how neat it needs to be.
2. Paint Consistency
One of the questions I am often asked is how I get the paint so smooth. Well firstly I should say that this doesn’t always happen but mostly it is dependent on how much water you add. Gouache needs to be mixed with water to thin it down to a creamy consistency. Using the paint straight out of the tube will give you a lumpy bumpy finish. If you add too much water, it will become a wash (which might be the desired effect) but for an opaque finish, you need to add just enough water to make it flow freely without sticking.
3. Opacity
Closely related to the previous tip, if you want an opaque finish then check the paint you are starting with. On the back of the Winsor and Newton gouache tubes there is a little square that is either coloured black to indicate the paint is opaque or it is left blank to show the paint is translucent or it has a diagonal line indicating a semi-opaque paint. If it is a translucent or semi-opaque paint, then it will be difficult to achieve a finish that isn’t streaky even if you try to apply a few layers. However, if you mix a translucent paint with an opaque paint, of course it will change the colour but you have a better chance of it applying smoothly. And word of warning, some colours just don’t like to mix together so it is always good to paint a test patch to see what the results will be like.
4. Layering Goauche.
Gouache is quite similar to water colour. It can be thinned right down to a watery wash or used thicker for an opaque finish. It is easy to layer gouache over a thin wash but much harder to paint over an opaque layer. I have tried this on occasion when I have really needed to change the colour but the finish is never as smooth and there is the danger of the paint mixing with the colour beneath making a muddy finish.
5. Colour Shift
One of the slightly annoying qualities of gouache which takes time to get used to, is the colour shift from wet to dry paint. Generally it will dry much darker than the colour it appears in the palette. I always have a test sheet of paper and have to be very patient to see what the final colour is once it has dried. I literally spend a lot of time watching paint dry!
6. Mix your Colours.
It would be a rare moment when I have ever used a gouache paint straight out of the tube maybe with the exception of black or white. White paint is my most used colour (titanium white) and I mix a little with just about every colour I use as well as mixing various colours to create different hues. As I mentioned before, there are some colours that just don’t want to mix well but most seem to be friendly with each other. And mix the colours well if you want a flat, even finish.
7 Painting an Area.
Keep the edges of the paint wet when filling in an area and work quickly to cover the surface before it dries. You can put down a thin layer of water on the surface first if you a looking to create an even wash or spread the colour from dark to light using your brush to drag the paint over the watery surface. There are so many washes and blending techniques possible and a myriad of you-tube tutorials that will happily guide you.
8 Keep your brushes clean.
I always have two containers of water on my desk for washing out brushes. One for a first rinse and the second for a final rinse and to add clean water to the gouache. It’s important to change the rinse water frequently to keep the colours clean. Oh and keep a separate place for your tea or coffee cup! Too many stories of painters using their tea as rinse water or worse when the reverse happens.
9.Framing
I guess one of the downsides of using gouache is that being water soluble, the final piece needs to be framed behind glass so this is something that needs to be factored into your costings for presenting an artwork for sale or exhibition.
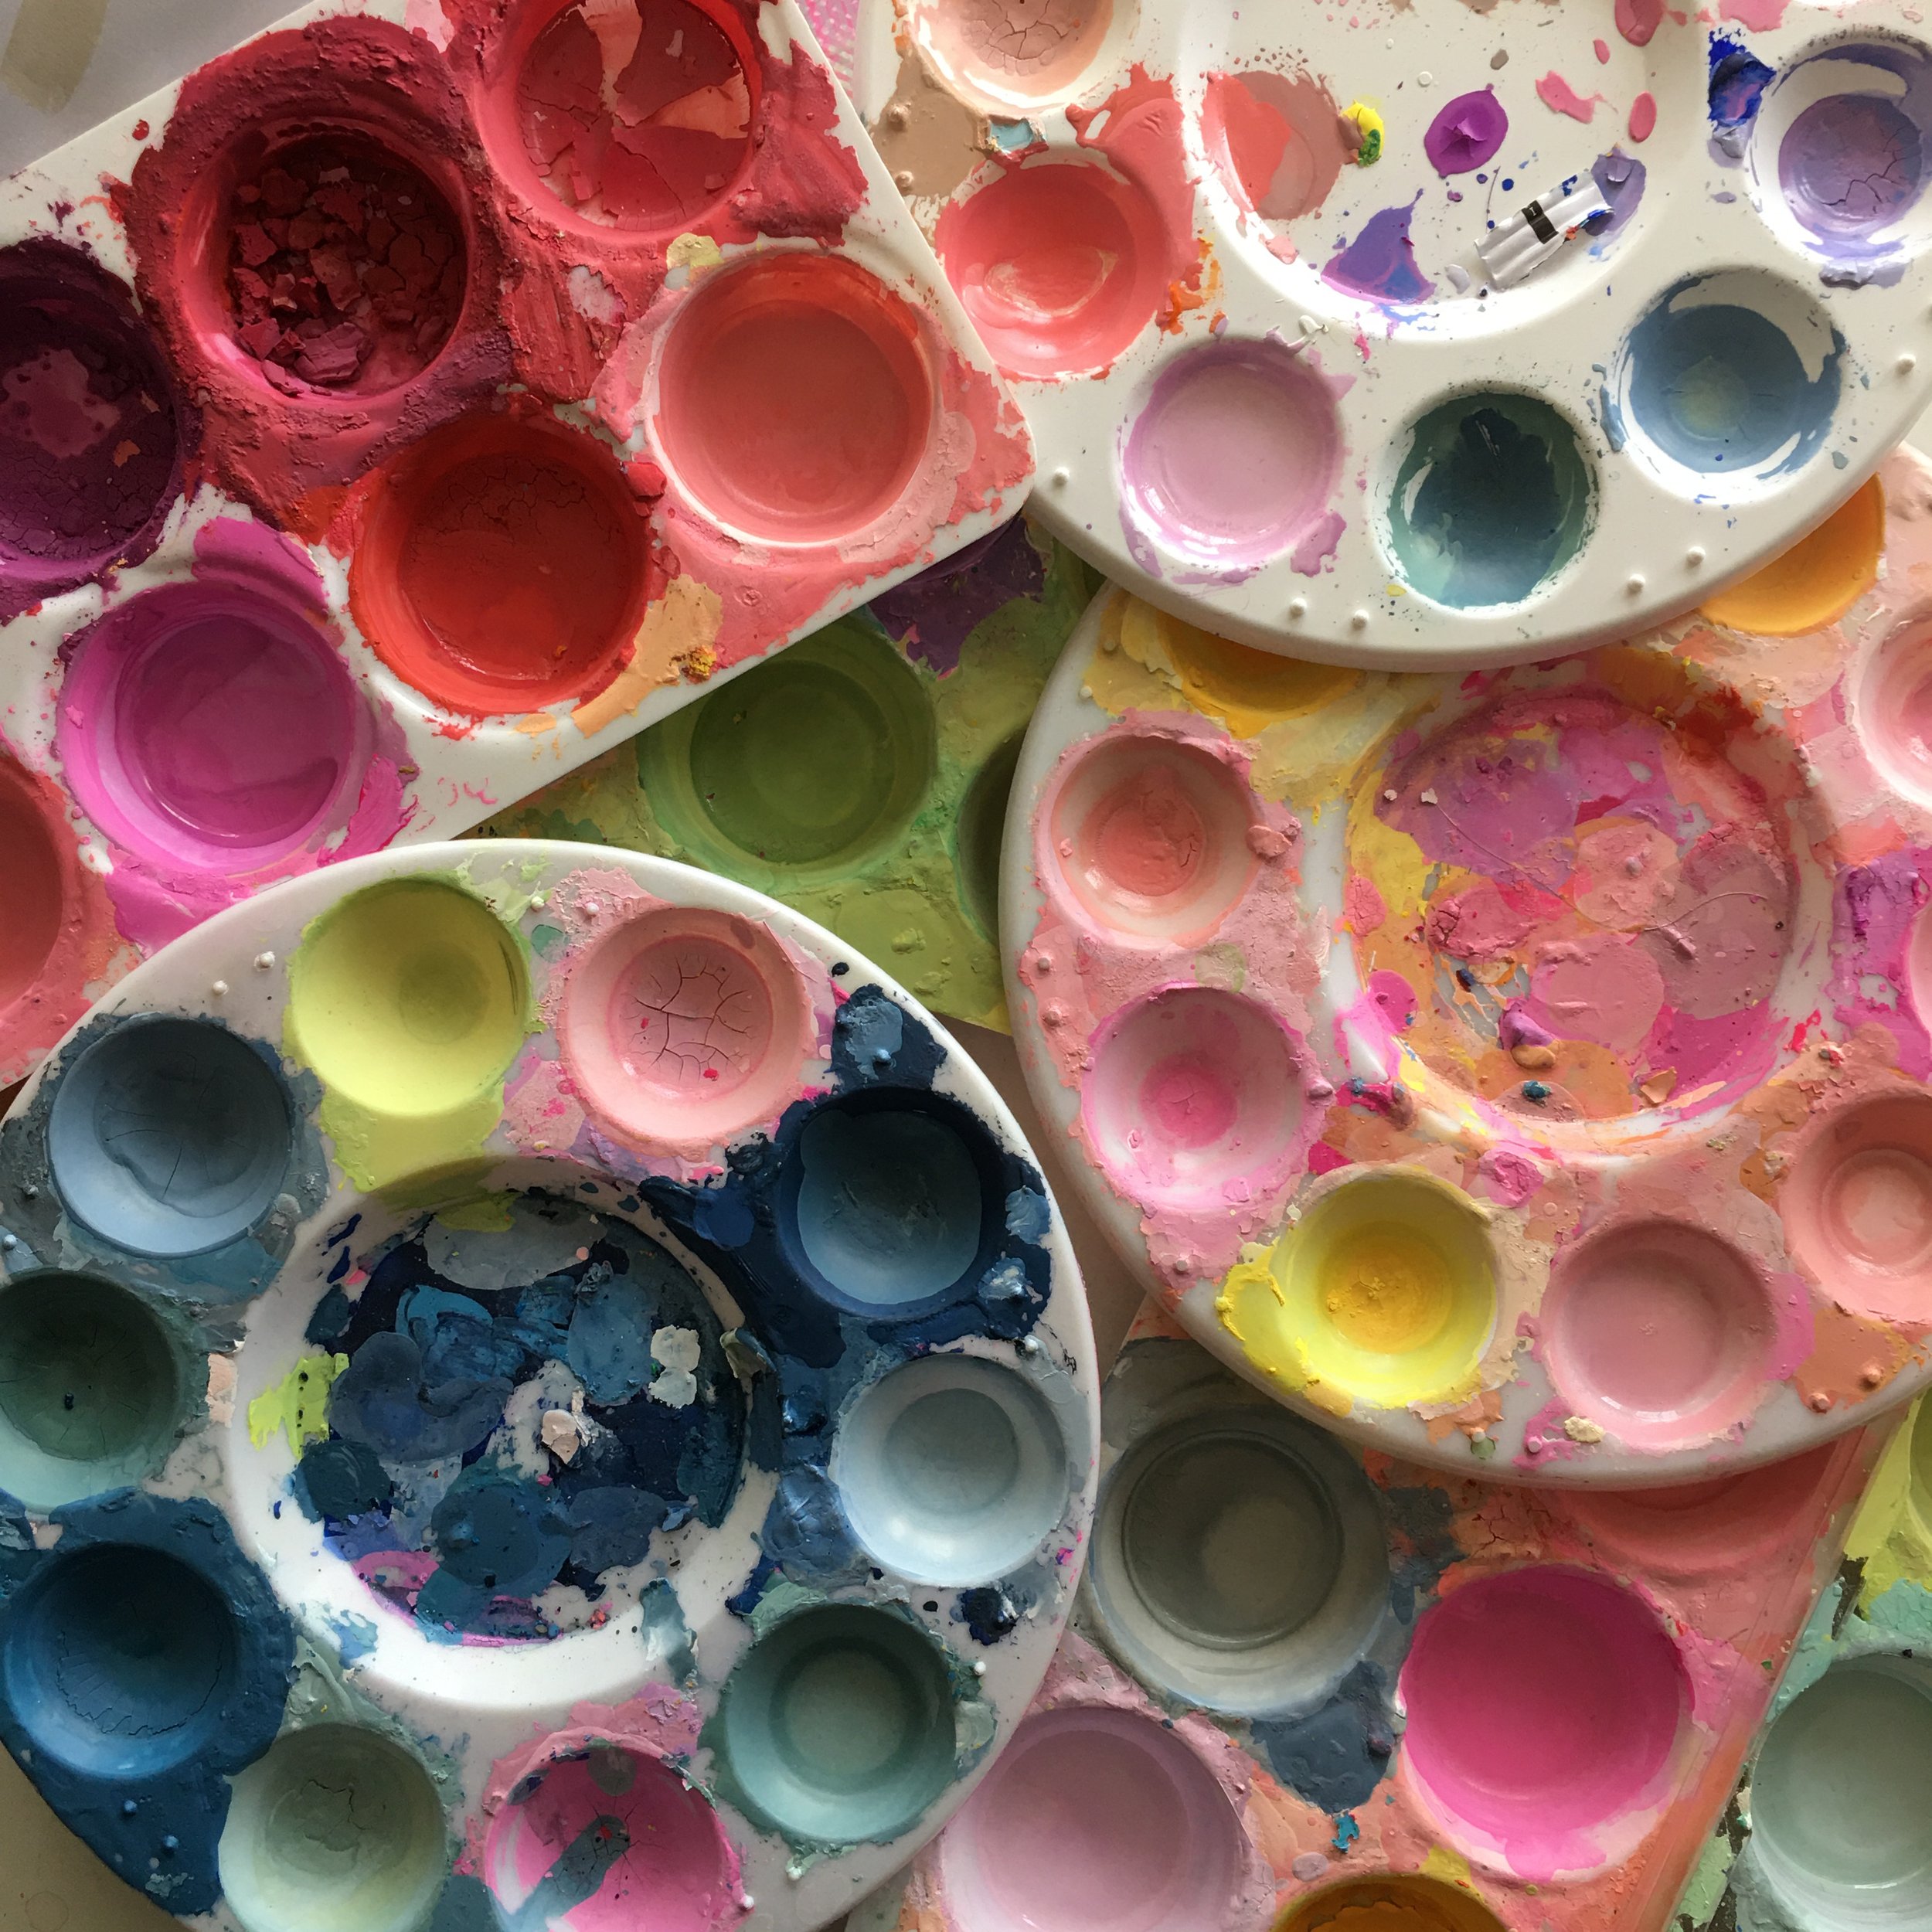
10. Don’t throw out that paint!
One of the advantages of using gouache is that you can keep using the paint once it has dried up by just adding clean water again. I have many palettes and just keep adding to the colours or tweaking them as I need. This way their isn’t any paint wasted and I feel like one palette of colours gives birth to the next painting so they are all related in a way. Also, make sure to secure the lids carefully after use. If the lids become stuck, just run them under hot water and if the whole paint tube dries up, it might be time to cut the end off and add some water. There is no way I am throwing out any of that paint!
11. Surface
I like to paint on illustration board but you can also choose a surface like water colour paper that is designed to take the watery paint otherwise you will just end up with a wrinkly painting!
I am sure I will think of more things after I finish typing this and I will come back to edit this if I do but for now that’s my top ten tips (plus one!) if you are just starting out with the medium and I would love to hear your advice in the comments if there is anything you have to share.
Happy Painting!